Prepare the Garlic Butter
In a small bowl, mix the softened butter, minced garlic, salt, and chopped parsley until smooth and well combined.
Chicken Kiev
Shape and Chill the Butter
Spoon the butter mixture onto a piece of parchment paper and shape it into a rectangle roughly 4 x 2.5 inches. Wrap and chill in the fridge until solid—this makes stuffing the chicken easier and cleaner.
Pound the Chicken Evenly
Place one chicken breast between two sheets of plastic wrap or inside a freezer bag. Use a meat mallet to pound it out to about 0.2 inches thick. Be sure it’s an even thickness to ensure even cooking.
Chicken Kiev
Season the Chicken
Unwrap and sprinkle both sides of the chicken with salt and black pepper. This simple step builds flavor right from the start.
Add the Butter and Roll It Up
Cut the chilled butter into batons. Lay one baton in the center of the pounded chicken. Fold the sides inward, then roll tightly from the bottom up to seal the butter inside. Use trimmed bits of chicken if needed to patch any gaps.
Chicken Kiev
Wrap and Freeze Briefly
Wrap each chicken roll tightly in plastic wrap to hold its shape. Chill in the freezer for about 30 minutes—this helps the butter stay firm during cooking.
Dredge and Crumb
Set up three shallow bowls: one with flour, one with beaten eggs, one with panko breadcrumbs. Unwrap the chicken, roll in flour (shake off excess), dip in egg, then coat fully in breadcrumbs.
Freeze Again (Optional but Helpful)
Chill the crumbed chicken in the freezer again for 20–30 minutes. This firms it up for frying and helps the crumb stay intact.
Fry to Golden Perfection
Preheat oil in a heavy skillet to 375°F. Carefully add the chicken and fry for 2–3 minutes per side until golden brown. You’re not fully cooking here—just getting that perfect crisp.
Chicken Kiev
Finish in the Oven
Transfer the fried chicken to a rack over a baking tray. Bake at 350°F for 15 minutes, or until the center reaches 150°F internally. Tip: Pierce the top, not the sides, to check temp—avoids butter leaks.
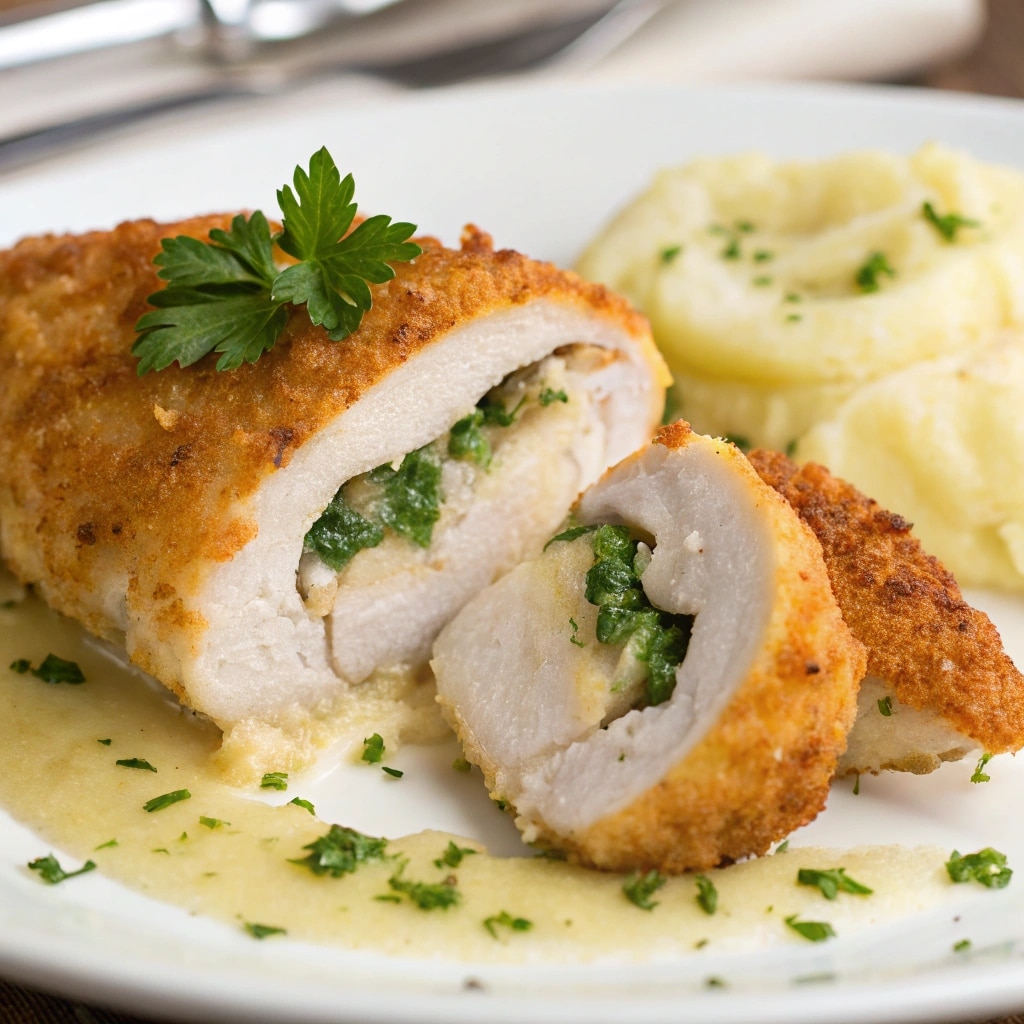
Rest and Serve
Let the Chicken Kiev rest for 2 minutes. Garnish with chopped parsley and serve immediately for that dramatic butter reveal.